Hello World!
It has been pointed out to me that people may in fact be interested in some of my undertakings. Therefore, I have decided to get myself a proper home page and to take up blogging. So, at the tender age of 34 I am now writing my first real post on my very own blog. I imagine that this will be more like a project log/how-to for the different projects that I undertake, but we’ll see how it evolves.
First off I’ll try to describe what I did in order to get this site up and running, so that I could write this fist blog post.
What I already knew
My very first “homepage” was hosted on Geocities back in 1997-ish. Like many of its contemporaries, it was written in strict HTML and comprised of some horrible images overlaid on some even more horrible tiled background image, there may even have been a spinning scull involved… At least this gave me a basic understanding of HTML tags, and how HTML works.
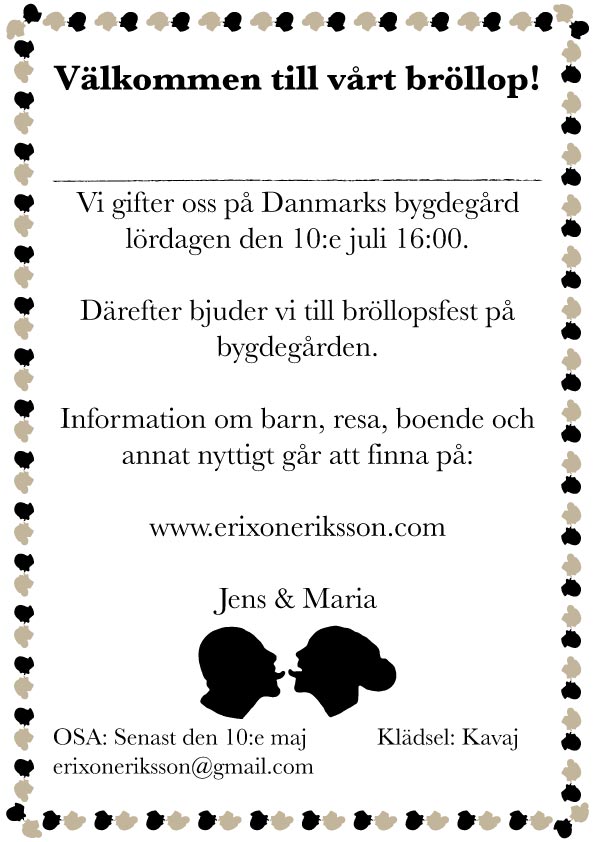
My second homepage was a Google-Sites powered home page for our wedding in 2010. It was built by pasting together predefined Google provided templates, but at least it looked half way decent with my own images applied to it. Plus, it looked way, way better than anything else provided by other free services in 2010 (i.e. no ads). This is when I bought the domain name erixoneriksson.com, so that we would have slick looking wedding invitations. After the wedding I kept paying for the domain name, always having the intention to do something with it…
Enough with the boring personal narrative, onward to the interesting content: How I wrote this post and how the site works!
What I had to learn
I’m writing this text in a text editor called TextMate, in a format called kramdown. Kramdown is just an extention of the markdown text-to-HTML tool. From the Markdown home page:
Markdown is a text-to-HTML conversion tool for web writers. Markdown allows you to write using an easy-to-read, easy-to-write plain text format, then convert it to structurally valid XHTML (or HTML).
This is how my computer screen looks right now:

The image above is a link to the screenshot of how I got the screenshot to display as an image on the page, cool right? What I have done is to nest the structural element (code) for an image ‘![][]’ inside if the element for a link ‘[][]’ (line 31) with a reference name called screenshot-location (line 33) that points to the location of the image file. Super convenient and efficient!
The stuff at the top between the three dashes (lines 1-10) is called YAML front matter, and it is processed by the Jekyll static site generator program in to all the .html files and directories that make up this site. This site, in turn, is hosted on my GitHub Pages-page. The linked pages have way better tutorials on the specifics of how to use these tools than I have the time to write, so I’m just linking to them. That’s where I learnt most of the stuff to get the site going anyway.
If you want to see the source code for this site, just klick here, or on the Octocat icon () in the footer, and navigate to the repository named oftatkofta.github.io.
That takes care of most of the content, or HTML part. However, what you are viewing right now is content with a style applied. In this case there is some funky ape photo on top, a headline, subheadings, some dark grey body text with a sweet font (Libre Baskerville), and a white background. I’m guessing that you have also noticed the navigation bar at the top and the social media bar at the footer. All of these elements are generated through the use of css, or Cascading Style Sheets.
I haven’t written the .css myself, it is based on the freely available and open Bootstrap css template. I am also using the back bone of the Clean Blog Jekyll template for the site itself. The cool thing about Bootstrap is that it automatically gives you a mobile-friendlly site, which is very 2015! Go ahead, try and resize your browser!
The problems I had
It took me a while to get whole Jekyll thing, but through careful reading the official documentation I finally got it. Another problem I had was to get the footer to display nicely. It took me some time to understand that the different icons are actually symbols from a font called Font Awesome.
WARNING!!! If you look through the Font Awesome icons, you will realize that they are everywhere on the web. YOU CANNOT UNSEE THIS! Depending on your personality, this will either drive you mad or make you appreciate web design even more. The same goes for the Bootstrap CSS examples to some extent.
The final, stupid, problem I encountered was when I was making the custom 404-page. I had a very hard time to get the 404-image to be centered AND responsive to viewport (window) size. It works now, but to be honest I don’t fully understand why… I’m not going to link to the 404-page, you will have to (not) find it for yourself, if you want to see it.
What now?
There are still a million things that I will tweak, in both functionality and looks, but now I feel that it has reached the level of good enough. Now I will save this post, move it from the _drafts folder into the _posts folder, Push & Commit the changes to my GitHub Repository, and go LIVE!